

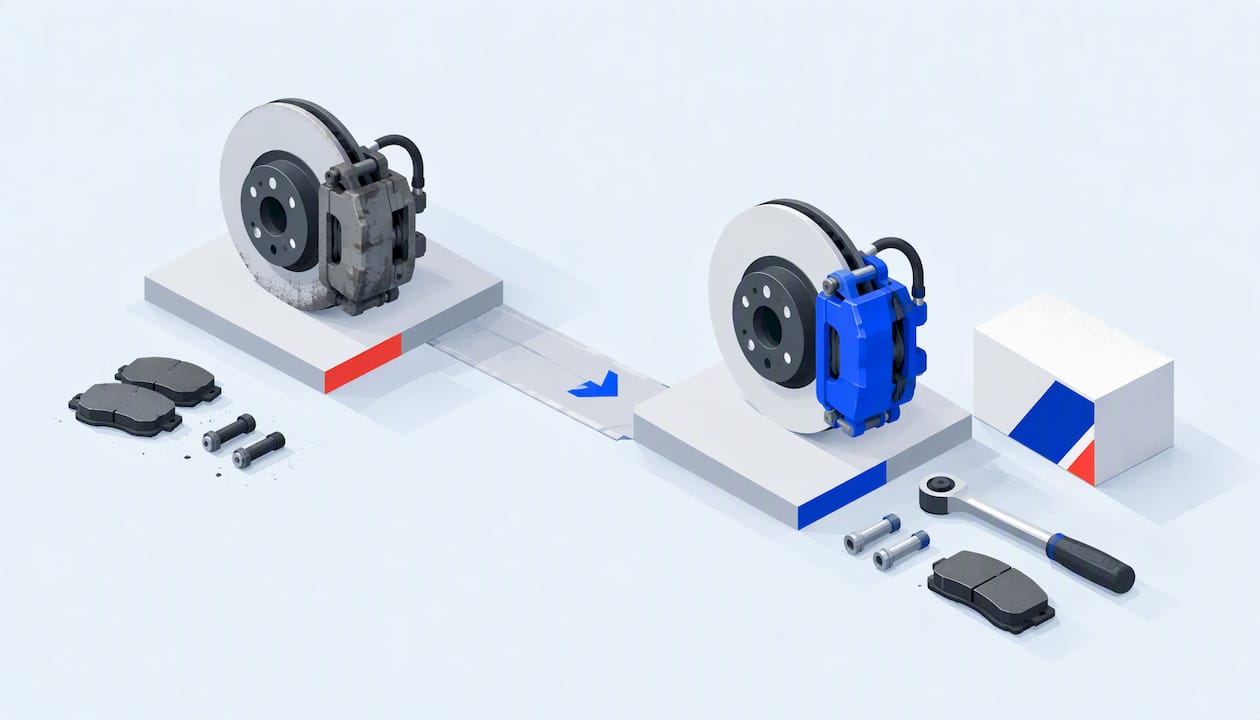
Replacing a rear brake caliper means lifting the car on stands, removing the wheel, disconnecting the brake line, swapping the caliper, and bleeding the system so no air stays in the fluid. It is a harder-than-average job, because it needs specialized tools, careful brake-fluid handling and proper bleeding. Most drivers replace calipers in pairs across the axle and refresh pads and rotors at the same time. This guide covers the tools, the steps, the rear-specific details (wind-back pistons, electronic parking brakes), what the job costs, and how to decide whether to do it yourself.
TL;DR
- Rear calipers are usually replaced in pairs. Pads and rotors must be replaced in pairs across the axle too.
- Rear pistons are often the wind-back type, so you need a wind-back tool. Cars with an electric parking brake need the service mode before you touch the caliper.
- Bleeding is not optional after the brake line is opened. Follow your vehicle’s bleed sequence and keep the reservoir topped up.
- Expect a single caliper job to run roughly $500 to $1,500 at a shop, depending on vehicle and location.
- If you are unsure about any step, hand the job to a qualified mechanic. Brakes are a safety system.
Table of Contents
- When a rear caliper needs replacing
- Tools and parts you need
- Step-by-step: replacing a rear brake caliper
- Front vs. rear caliper replacement
- Replace one caliper or both?
- What does rear caliper replacement cost?
- Is it hard to do yourself?
- Choosing parts that work together
- Perspective
- Ready to order?
- Mistakes to avoid
- FAQ
- Sources
When a rear caliper needs replacing
A caliper holds the pads and clamps them on the rotor when you press the pedal. When it fails, it usually does one of two things: it sticks and keeps dragging, or it leaks fluid around the piston or the seal. The signs to watch for:
- The car pulls to one side under braking.
- One rear wheel is much hotter than the other after a drive, or you smell something burning near a wheel.
- Pads on one side are worn far more than on the other.
- Fluid on the inside of the wheel or a pedal that feels soft or sinks.
- A parking brake that no longer holds or no longer releases cleanly.
A pull to one side can also come from tires or alignment, so have a mechanic confirm the cause if you only have that one symptom.
Can you drive with a bad rear caliper?
A stuck caliper keeps the pads against the rotor, which builds heat and can damage the rotor and pads. A leaking caliper loses fluid and can reduce braking. Neither is a condition to drive on for long. If you see smoke, smell burning, see fluid, or the pedal feels soft, stop driving and have the car towed to a shop or your garage. Do not try a long trip on a suspect caliper.
Tools and parts you need
Gather everything before you lift the car. A caliper job that stalls halfway with the brake line open and no fluid is a bad afternoon.
Tools
- Floor jack and a pair of axle stands rated for your vehicle, plus wheel chocks
- Lug wrench and a socket set, with a torque wrench for the final tightening
- A brake wind-back tool (rear pistons often need to be wound in, not pushed)
- A line wrench or flare-nut wrench for the brake hose fitting
- Bleeder wrench, clear hose and a catch bottle, or a pressure or vacuum bleeder
- Brake cleaner, a wire brush and brake grease for the slide pins
- A scan tool if your vehicle needs an automated bleed or an electric parking brake service mode
Parts
- The replacement caliper for the correct side, matched to your vehicle
- New banjo bolt washers (copper crush washers), if your hose uses them
- Fresh brake fluid of the type printed on the reservoir cap or in your owner’s manual
- New pads and rotors, or a full axle kit
Which parts to buy with the caliper
Brake pads and discs must be replaced in pairs across the axle, according to Haynes’ caliper guide. Since you already have the caliper off, the pads and rotor are in your hands too. Fitting new pads into a new caliper over a worn, scored rotor wastes the job. That is why many owners buy a rear brake kit (pads and rotors together) and add calipers where needed. For a front axle, the same logic applies to a front brake replacement kit.
Step-by-step: replacing a rear brake caliper
These steps are the general process. Your vehicle’s service manual overrides them on torque values, bleed order and parking brake procedures.
1. Prepare and lift the vehicle
Park on level, solid ground, chock the front wheels, and loosen the rear lug nuts slightly. Jack the car up and put it on axle stands. Haynes says to support the vehicle securely on axle stands before removing the wheel. Never rely on a jack alone. Remove the wheel.
2. Release the parking brake mechanism
On a car with a cable parking brake, back off the cable adjustment and release the cable from the caliper lever. On a car with an electric parking brake (EPB), do not skip this step. Technical service bulletins for EPB-equipped vehicles require putting the system into a Brake Pad Change Mode to release the caliper, then running an Assembly Check after installation. Use a scan tool or the procedure in your manual. Forcing the piston back on an EPB caliper with the wrong tool can damage the motor or gear.
3. Disconnect the brake line
Place a drip pan under the caliper. Loosen the hose fitting or banjo bolt, then disconnect the brake line. Some mechanics clamp the flexible hose with a hose clamp first to limit fluid loss, but only do this with the right tool and on a hose in good condition. Cap the hose end to keep dirt out.
4. Remove the old caliper
Unbolt the caliper guide pins or slider bolts and lift the caliper off the rotor. Then remove the caliper bracket if the rotor needs replacing. Support the caliper; never let it hang by the hose.
5. Check the slide pins and clean the bracket
Check that the caliper sliding bolts are in good order and slide smoothly, as Haynes advises. Seized or corroded pins are one of the common reasons a caliper sticks, and a new caliper on dry, rusty pins can fail the same way. Clean the bracket contact surfaces, replace damaged boots and lightly lubricate the pins with brake grease designed for the purpose.
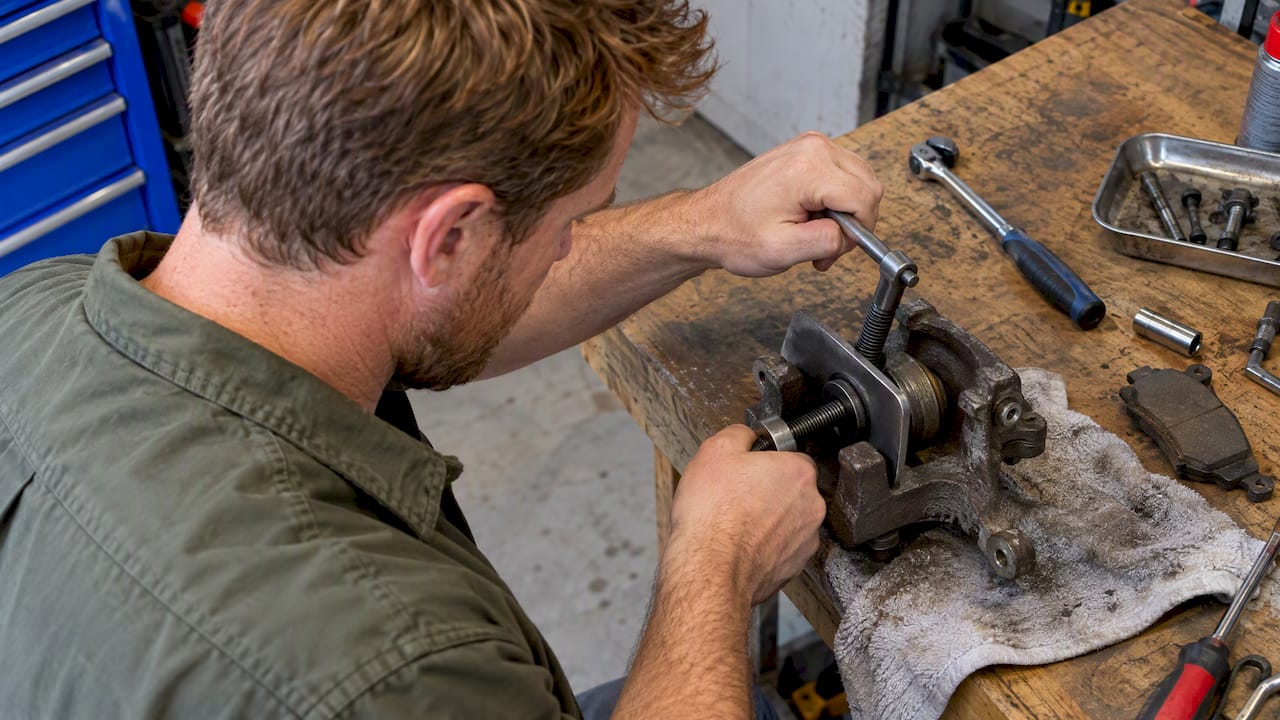
6. Wind back the piston and fit the new caliper
Rear pistons are often the wind-back type, and they need a brake wind-back tool to turn them into the cylinder. A plain C-clamp will not turn a screw-type piston. Fit the new pads, slide the new caliper over them, install the bracket and guide bolts, and torque to the manufacturer’s value. Reconnect the brake hose with new crush washers.
7. Bleed the brakes
Opening the brake line lets air in, and air in a brake line makes the pedal spongy. Fill the reservoir, then bleed each corner in the sequence your vehicle’s manual specifies. Some examples from official and trade sources:
- For affected 2019 Ram vehicles, the NHTSA recall document gives the bleed order as right rear, left rear, right front, then left front.
- For 2007-2013 GM GMT900 trucks, Brake & Front End lists the same order for manual or power bleeding, and says an automated bleed with a scan tool is necessary after hydraulic component or line replacement.
Your vehicle may differ, so check the manual. Keep an eye on the reservoir while you bleed: the level should not drop below halfway between MIN and MAX. If it does, the procedure has to start again.
8. Refit the wheel and test
Mount the wheel, lower the car, and torque the lug nuts in a star pattern. Before moving, pump the pedal until it feels firm. Then test at low speed in a clear area, braking gently several times before any road driving. Re-check the reservoir level and look for leaks at the fitting and bleeder. If the pedal is soft, sinks, or the car pulls, stop and bleed again or take it to a shop.
Front vs. rear caliper replacement
The overall job is the same: lift, remove, swap, bleed. The differences matter.
| Point | Front caliper | Rear caliper |
|---|---|---|
| Piston | Usually pushes straight back | Often a wind-back type, needs a wind-back tool |
| Parking brake | Not involved | Cable lever or electric motor on the caliper |
| Typical special step | Check steering and suspension clearance | EPB service mode and assembly check on many newer cars |
| After the job | Bleed in the specified sequence | Bleed in the specified sequence |
Rear pistons are often the wind-back type, which is the most visible difference. The parking brake is the other: that is where the rear job gets more complicated on modern vehicles.
Replace one caliper or both?
Calipers can be replaced individually, but the pads and rotors on that axle must be done as a pair. For the calipers themselves, Import Car says they should usually be replaced in pairs. If you replace only one, use the same piston type, brand, and type of friction material as on the opposite side.
The practical logic is simple. A new caliper clamps differently from a tired caliper with an old seal. Put them on opposite sides of the same axle and the car may brake unevenly, pull, or wear pads at different rates. If budget forces a single caliper, match the opposite side as closely as you can and have the other one inspected for sticking pins and a tired seal.
What does rear caliper replacement cost?
Replacing a single brake caliper typically costs $500 to $1,500, and costs vary by vehicle, location, and whether it is a front or rear caliper, according to ConsumerAffairs’ 2026 guide. Several things move the number:
- Vehicle: trucks, SUVs and European models often cost more for parts and labor.
- Parking brake type: an EPB caliper usually costs more than a cable-type unit.
- Scope: pads, rotors, hose replacement and a fluid flush add to the invoice.
- Labor rates: these differ by region and by type of shop.
If you do the job yourself, you save the labor but you pay for tools and take on the risk. Warranties are worth a check: ConsumerAffairs notes that factory or extended warranties may cover caliper replacement, but they typically do not cover wear items like pads and rotors.
For the pads-and-rotors portion of the bill, our cost guide for pads and rotors explains what to expect and what is a fair price.
Is it hard to do yourself?
It is a harder-than-average job. ConsumerAffairs points to specialized tools, careful brake-fluid handling, precise installation and proper bleeding as the reasons. Haynes recommends that replacement be done by someone with mechanical knowledge or under expert supervision.
A realistic self-check:
- You can likely handle it if you have already changed pads and rotors, own stands and a torque wrench, and can follow a service manual for your exact vehicle.
- Use a shop if your car has an EPB that needs a scan tool, your truck needs an automated bleed, or you have no safe place to lift the vehicle.
There is no shame in the second path. A properly bled brake system is worth the labor charge.
Choosing parts that work together
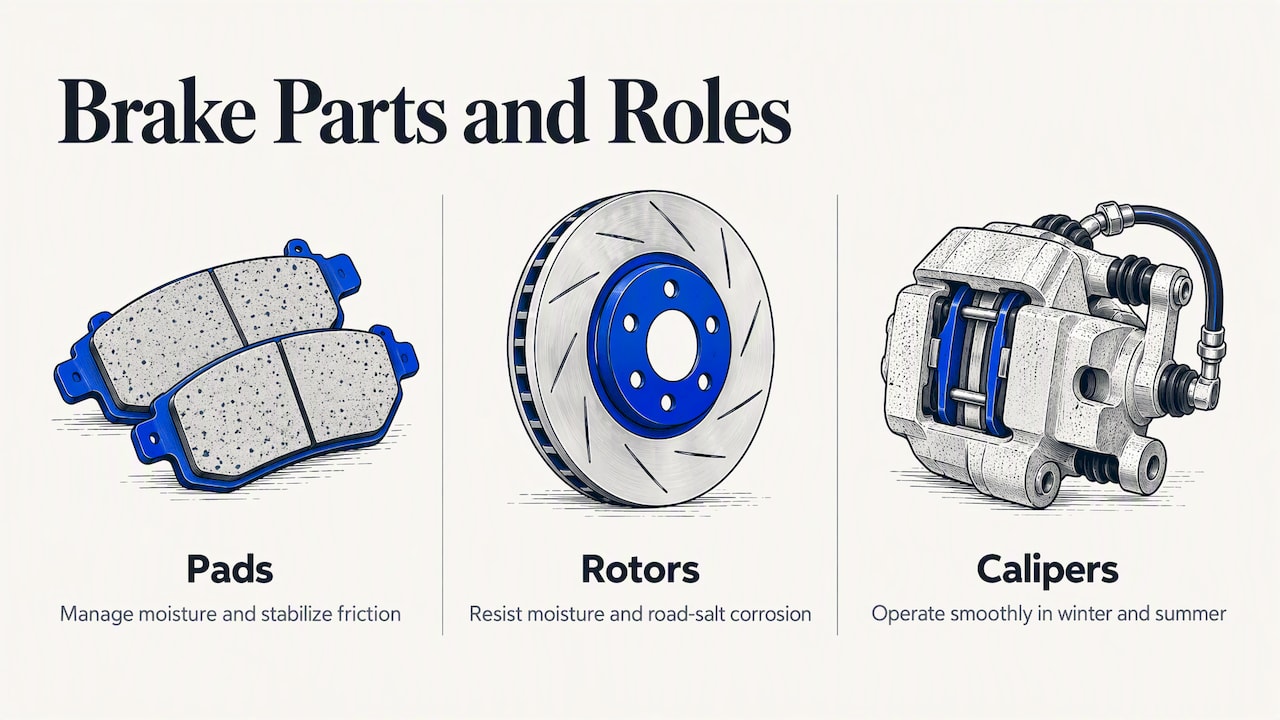
Brake parts do not work in isolation. Pads, rotors and calipers share heat, moisture and road salt, and a mismatch shows up as noise, uneven wear, or a pedal that feels different in rain than in dry weather. When you replace one part, ask what the others on that axle look like.
We design our parts around that idea. HydroAdaptive ceramic pads are built for moisture management and stable friction. GEOMET-coated rotors are designed to resist corrosion from moisture and road salt. ClimateFlex calipers are designed for smooth operation through winter cold and summer heat. Parts are matched by vehicle, so you enter your year, make and model rather than guess at fitment.
Rear kit or front kit?
If your rotors and pads are due as well, a kit saves you from ordering pieces separately. We list rear kits for several trucks, for example a rear brake kit for Ram 1500 2019-2025 with Type 07 pads and SC Type semi-coated rotors, and full front and rear kits for passenger cars. Rotors are sold only as part of a kit, and you can read why in our note on why rotors come only in a kit.
Perspective
Most caliper jobs we hear about start the same way: a driver replaces a caliper, leaves the old rotor and tired pads in place, and then wonders why the brakes feel different the first wet morning. A caliper is one part of a system that faces moisture, salt and temperature swings every day.
That is why we engineer pads and rotors as a matched system, and why our rotors are sold only with compatible pads. Our HydroAdaptive pads are designed to manage moisture and keep friction stable. Our GEOMET-coated rotors are designed to protect against corrosion from moisture and road salt. Our ClimateFlex calipers are designed to operate smoothly through winter cold and summer heat.
If you are already under the car for a rear caliper, that is the moment to treat the whole axle. It costs less in time than doing the job twice, and it gives you brakes that are set up to respond predictably when the weather changes.
AAA
Ready to order?
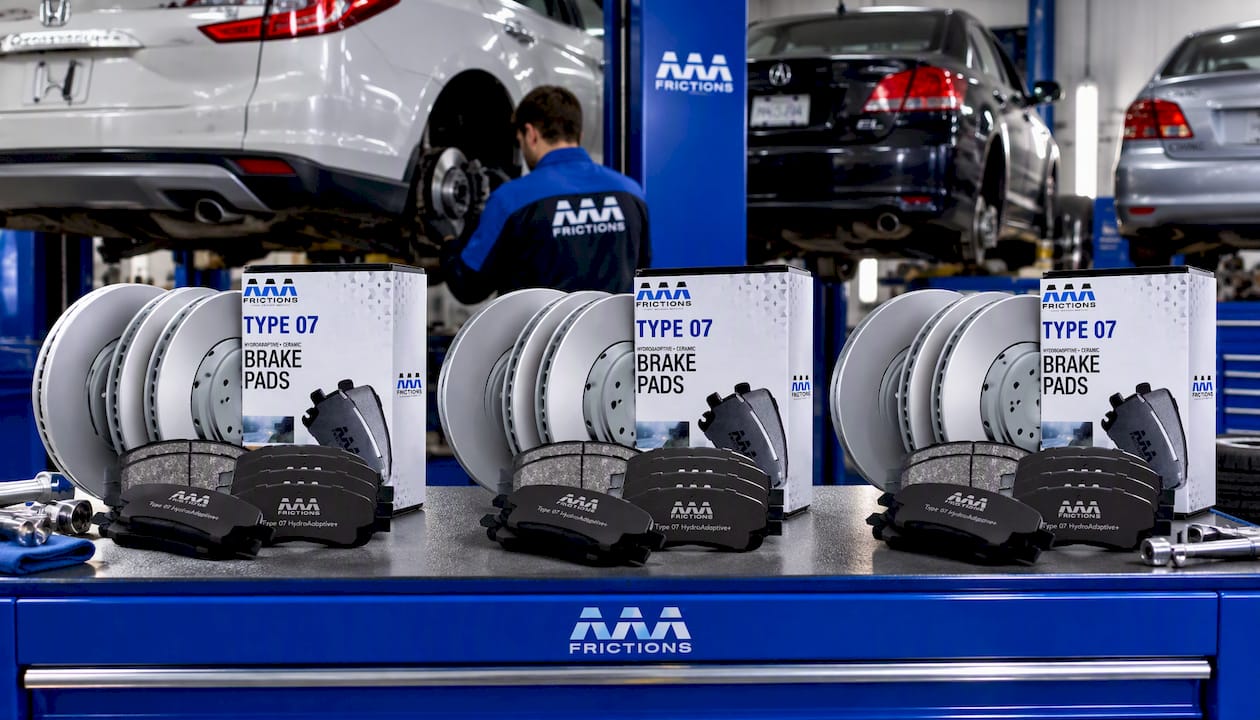
If you are replacing a rear caliper and your pads and rotors are due, start with the part for your vehicle. Our ClimateFlex brake calipers are designed for smooth operation in winter cold and summer heat. For the full axle, see our Type 07 pad and rotor kits, matched by vehicle, on our main store page.
Enter your year, make and model on the site to see what fits your car, truck or SUV.
Mistakes to avoid
- Skipping the bleed. Air in the line gives a soft pedal. Bleed in the sequence your vehicle specifies.
- Hanging the caliper by the hose. This can damage the hose from the inside. Support it with a wire or stand.
- Ignoring the slide pins. Seized pins kill new calipers. Clean and lubricate them.
- Forcing a wind-back piston. Use the right tool. A C-clamp is for push-back pistons.
- Skipping the EPB service mode. Use the scan tool or the manufacturer’s procedure.
- Mixing old and new on one axle. Replace pads and rotors in pairs and match calipers as closely as possible.
- Reusing old crush washers. They are cheap and they seal the joint.
FAQ
How much does it cost to replace a rear caliper?
A single caliper typically costs $500 to $1,500 at a shop, depending on your vehicle and location. Parts, labor, pads and rotors, and fluid all affect the final figure. Ask for an itemized quote that separates them.
Is it hard to replace a rear caliper?
It is harder than average. You need a wind-back tool, careful fluid handling and a proper bleed, and many newer cars need a scan tool for the electric parking brake. If you have never done brakes before, have a qualified mechanic do it.
Can you replace just one rear caliper?
Yes, calipers can be replaced individually, but pads and rotors on that axle must be replaced in pairs. Calipers are usually replaced in pairs too. If you do only one, match the piston type, brand and friction material of the other side.
Can you drive with a bad rear caliper?
Avoid it. A sticking caliper builds heat and wears the rotor and pads, and a leaking one can reduce braking. If you notice smoke, burning smells, fluid or a soft pedal, stop driving and arrange a tow or an inspection.
What is in a rear brake replacement kit?
A rear kit combines pads and rotors for the rear axle, matched to your vehicle. Calipers are a separate part. Buy them in the same order if yours are sticking or leaking, so the whole axle is refreshed in one job.
Sources
- How To Change a Brake Caliper, Haynes Manuals
- Technical Service Bulletin, NHTSA, March 2021
- Safety Recall V98 / NHTSA 19V-635
- 2007-2013 GM Full-Sized Truck (GMT900) Brake Job, Brake & Front End
- Servicing Brake Hydraulic Components, Import Car
- Brake Caliper Replacement Cost (2026) Guide, ConsumerAffairs
Recommended
- How Much Does Replacing Brake Pads and Rotors Cost and How Much Should It Cost?
- Rear Brake Kit for Chevrolet Malibu 2016-2019, Type 07 Hydro Adaptive+ Winter Ready Brake Pads with SC Type Semi-Coated Rotors
- Rear Brake Kit for Chevrolet Malibu 2016-2021, Type 07 Hydro Adaptive+ Winter Ready Brake Pads with SC Type Semi-Coated Rotors
- Rear Brake Kit for Ram C/V 2012-2015, Type 07 Hydro Adaptive+ Winter Ready Brake Pads with SC Type Semi-Coated Rotors